How to Make a Lithium-Ion Battery Pack
Lithium-ion batteries are the most commonly used rechargeable batteries in today’s electric device, from smart phone to electric vehicle. The battery packs have high energy density/power, long cycle life, and low self discharge rate. If you are interested in making your own lithium-ion battery pack, there are several steps you need to follow. In this article, we’ll guide you through the process of making a lithium-ion battery pack from scratch.
Step 1: Gather Materials
Before you can start building your lithium-ion battery pack, you’ll need to gather all the necessary materials. Here’s what you’ll need:
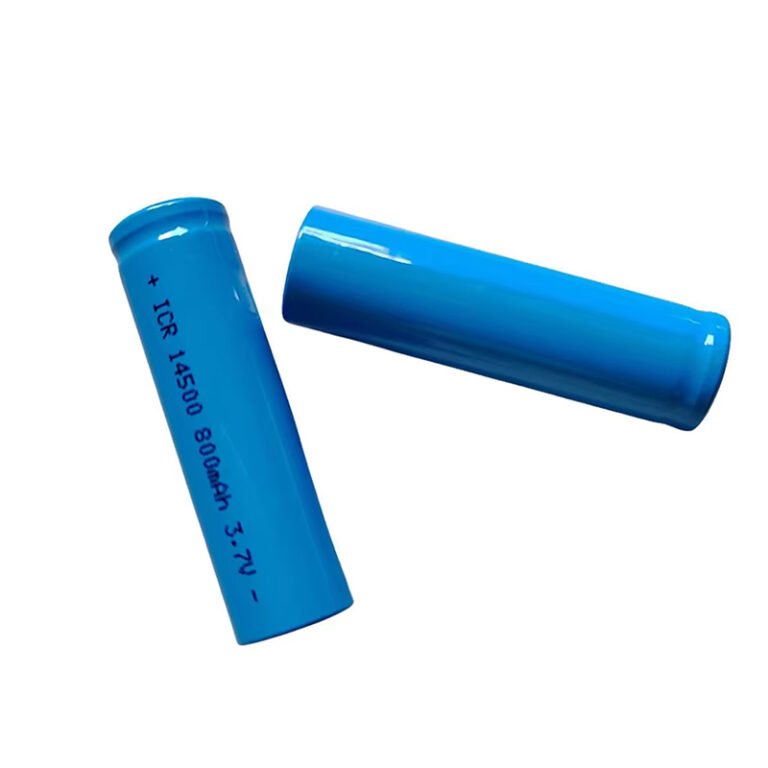
Lithium-ion battery cells: You can purchase lithium-ion battery cells from online retailers or electronics stores. Make sure you choose cells with the same voltage and capacity for consistent performance.
Battery management system (BMS): A BMS is essential for monitoring and controlling the charging and discharging of the battery pack. You can purchase a pre-built BMS or build your own.
Nickel strip: Nickel strip is used to connect the battery cells in a series or parallel configuration.
Insulating tape: Insulating tape is used to wrap around the battery pack to prevent short circuits.
Heat shrink tubing: Heat shrink tubing is used to cover the battery pack for protection and insulation.
Soldering iron and solder: Solder is used to connect the nickel strip to the battery cells.
Wire: Wire is used to connect the BMS to the battery pack.
Step 2: Design the Battery Pack
The next step is to design the battery pack. You need to decide on the number of cells and the configuration (series or parallel). The voltage of the battery pack is determined by the number of cells in series, while the capacity is determined by the number of cells in parallel.
For example, if you want to make a 12V battery pack with a capacity of 10Ah, you could use four 3.7V cells in series and three sets of four cells in parallel. This would give you a total of 12 cells with a capacity of 10Ah.
Once you’ve decided on the configuration, you need to design the layout of the battery pack. Make sure to leave enough space between the cells for ventilation and heat dissipation.
Step 3: Connect the Battery Cells
The next step is to connect the battery cells in the desired configuration using nickel strip. Make sure to follow the correct polarity (positive to negative) and avoid short circuits.
To connect the cells in series, place the positive end of one cell next to the negative end of the next cell and solder the nickel strip to both ends. Repeat this process until all the cells are connected in series.
To connect the cells in parallel, place the positive ends of the cells together and the negative ends together. Solder the nickel strip to each end of the group of cells.
Step 4: Install the BMS
Once the battery cells are connected, you need to install the BMS. The BMS should be connected to the positive and negative terminals of the battery pack using wire. Make sure to follow the wiring diagram provided by the BMS manufacturer.
Step 5: Wrap the Battery Pack
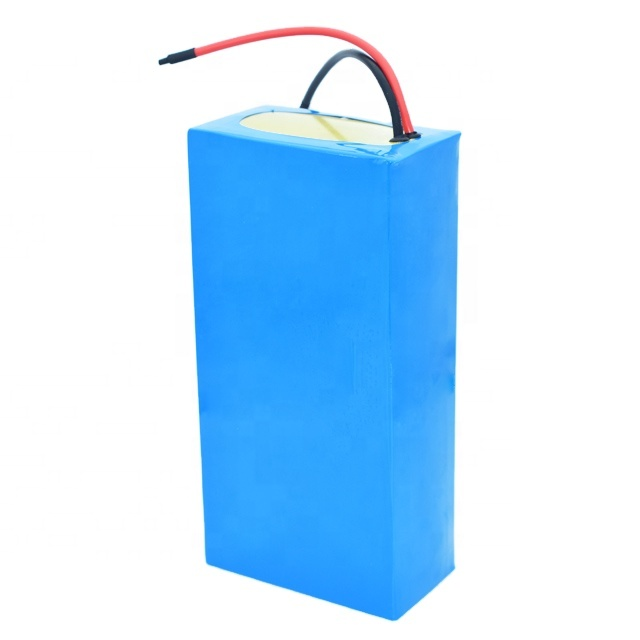
Wrap the battery pack with insulating tape to prevent short circuits. Then, cover the battery pack with heat shrink tubing for protection and insulation.
Step 6: Test the Battery Pack
Before using the battery pack, you need to test it to ensure it’s working properly. Use a multimeter to measure the voltage and capacity of the battery pack. Make sure the readings are consistent with the desired specifications.
Step 7: Use and Maintain the Battery Pack
Once the battery pack is tested and working properly, you can use it in your electronic devices
3.7V 1S Lithium Ion 18650 Li-ion Battery Pack with PCB at Top


